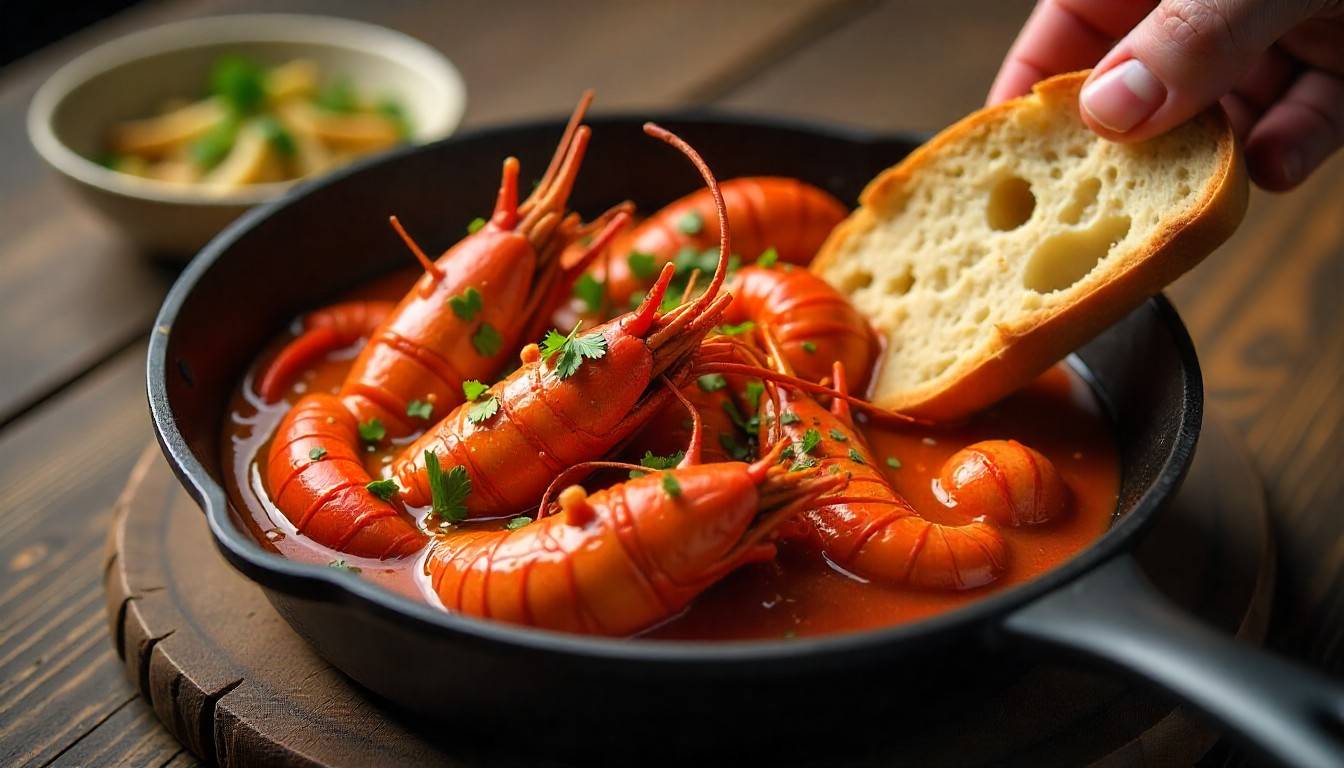
That irresistible aroma of sizzling, spiced meat rotating on a vertical spit can feel like it is calling you closer. And as you think about it, you may start wondering how to capture that same experience without any specialized equipment. Soon you’ll realize you can create that tender, flavor-packed gyro meat right in your own oven. The good news is that you truly can.
When you begin, you will see that mastering a classic gyro meat recipe depends more on a few simple techniques than on fancy tools. As you mix everything together, you will notice this is not a simple meatloaf. Instead, you are recreating that authentic, slightly springy texture along with the deep, savory flavor of garlic, oregano, and marjoram.
As you continue, you can let go of any mystery. With a blend of ground lamb and beef, a handful of pantry spices, and one straightforward prep secret, your home will soon smell like an Athenian street corner. Now you can step in and get started.
Why This Homemade Gyro Meat Recipe Beats Takeout Every Time
Let’s be honest for a moment. When you pick up store-bought gyro meat or even order it from certain restaurants, you never really know what you’re going to get. Sometimes it turns out dry, and other times the seasoning falls flat. But when you take charge in your own kitchen, you immediately lock in three things you can count on every time: quality, flavor, and complete satisfaction.
First, you take charge of the meat itself. A traditional gyro meat recipe relies on a blend of lamb and beef, and when you choose it yourself, you shape the entire flavor. The lamb brings that distinctive, slightly gamey taste, while the beef adds richness and naturally helps everything hold together. As you pick the fat content and quality, you make sure the final result turns out juicy and exactly the way you want it.
Second, you take full control of the seasoning. The spice blend that defines gyros is iconic, and it brings a warm, aromatic burst that immediately reminds you of the Mediterranean. When you mix it yourself, you can adjust every note. You might boost the garlic, lean into the oregano, or add just a touch more cumin until it fits your palate exactly the way you like it.
Finally, you get to enjoy the pure pride that comes with making it yourself. When you slice into a log of gyro meat you created from scratch and let those incredible aromas drift through your kitchen, you feel a kind of satisfaction no takeout bag can match. And as you build the perfect pita for your family or friends, you experience a moment that feels personal, rewarding, and entirely yours.
The Secret to the Perfect Texture: A Binding Agent
The characteristic dense, sliceable texture of gyro meat comes from the way the proteins are worked. In professional kitchens, that texture is created by pounding the meat until it reaches a smooth, paste-like consistency, usually with a large mixer or a powerful food processor. When you make a homemade gyro meat recipe, you can achieve the same effect with one simple and clever trick that gives you that authentic bite without any industrial equipment.
The key is a panade. A panade is a paste made from bread and milk. When you blend it into the ground meat, it works as a powerful binder that locks in moisture and helps the entire mixture stay firm and cohesive when you slice it. This trick is already the secret weapon behind tender meatballs and sturdy meatloaf, and it becomes absolutely essential when you want gyro meat that stays intact instead of crumbling.

Gathering Your Ingredients: The Flavor Foundation
The ingredient list is straightforward. The magic is in the combination.
The Meat Blend:
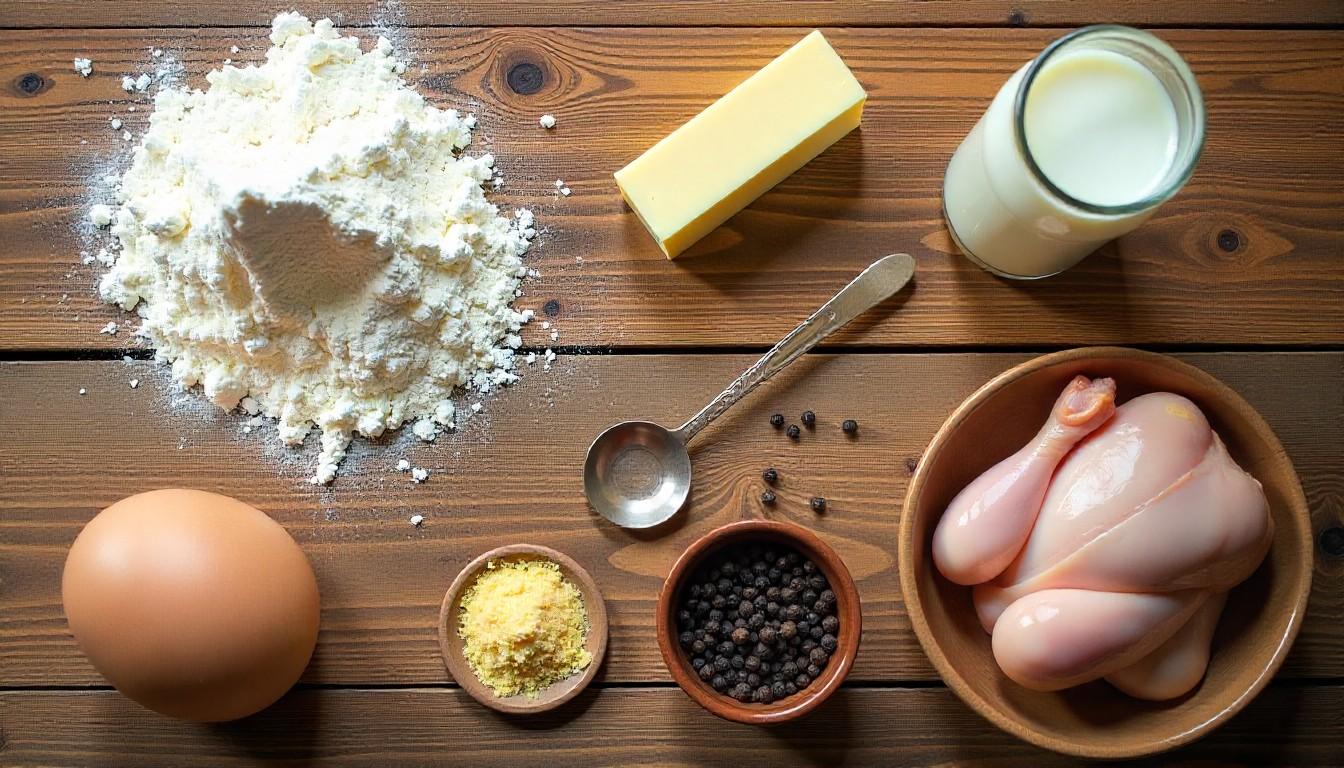
- 1 pound ground lamb
- 1 pound ground beef (80/20 lean-to-fat ratio is ideal for juiciness)
The Aromatics & Binder:
- 1/2 of a large yellow onion, roughly chopped
- 4 cloves garlic, minced
- 1/4 cup fine breadcrumbs
- 3 tablespoons milk
The Essential Spice Blend:
- 1 tablespoon dried oregano
- 2 teaspoons dried marjoram
- 1 teaspoon ground cumin
- 1 teaspoon smoked paprika
- 1 teaspoon fine sea salt
- 1/2 teaspoon freshly ground black pepper
Your Step-by-Step Homemade Gyro Meat Recipe
Follow these steps for a foolproof result every time.
Step 1: Create the Flavor Base
Preheat your oven to 325°F (160°C). In a small bowl, mix the breadcrumbs with the milk to form your panade. Then give it a few minutes so the breadcrumbs can fully soak up the liquid. As you wait, remember that this mixture becomes your key binding agent and sets the foundation for the perfect texture.
Step 2: Process the Aromatics
In the bowl of your food processor, add the roughly chopped onion along with the minced garlic. Then pulse until the onion becomes very finely minced, almost like a paste. As you do this, you help the flavor spread evenly through the mixture while avoiding any large onion pieces in the finished meat.
Step 3: Combine and Emulsify the Meat
To the food processor with the onion and garlic, add the ground lamb, ground beef, the breadcrumb panade, and all your spices including oregano, marjoram, cumin, paprika, salt, and pepper. As everything comes together in one place, you set the stage for a mixture that will be richly seasoned and perfectly balanced.
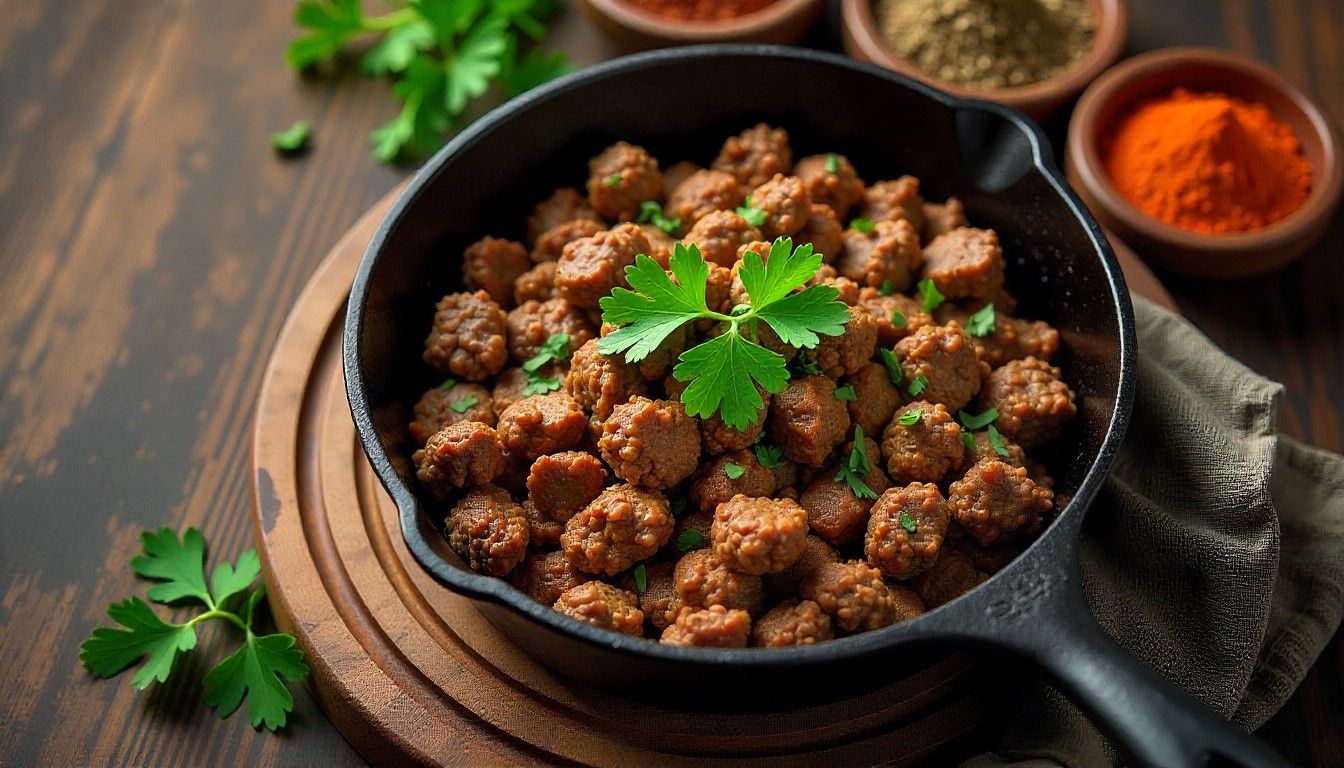
Now it’s time to process the mixture. Pulse it for about 30 seconds, then scrape down the sides of the bowl. Keep processing for another 60 to 90 seconds until the mixture turns very smooth, pale, and almost paste-like. This step is essential because it develops the protein structure that gives gyro meat its signature firm yet tender texture.
Step 4: Shape and Bake
Lightly grease a baking sheet with oil. Then take the meat mixture and shape it into a tight, compact log, about 9 inches long and 5 inches wide. Use your hands or a spatula to smooth the surface, creating an even, uniform shape that will cook beautifully.
Place the log in the preheated oven and bake for 45 to 55 minutes, or until a meat thermometer reads 165°F (74°C) in the center. If you want a more authentic color and a slightly crisp exterior, finish by broiling the log for 2 to 3 minutes, keeping a close eye on it to make sure it doesn’t burn.
Step 5: The Most Important Step: Rest and Slice
Once your gyro meat comes out of the oven, give it at least 15 minutes to rest. As it rests, the juices settle and spread throughout the meat, making every slice tender and flavorful. If you cut it while it is still hot, the slices will
For the thinnest and most authentic slices, use an electric knife or a very sharp serrated knife. Slice against the grain, cutting the meat into delicate, even strips.
How to Serve Your Homemade Gyros
Now comes the fun part: building your gyro. Start by warming some soft pita bread. Layer on the thinly sliced gyro meat, then add crisp shredded lettuce, diced tomatoes, and thinly sliced red onion. The final, essential touch is a generous drizzle of creamy, tangy tzatziki sauce that brings everything together perfectly.
For a truly epic homemade Greek feast, serve your gyros with a side of perfectly seasoned Greek lemon potatoes.

Pro Tips for Gyro Mastery
- Chill for Cleaner Slices: For absolutely perfect, clean slices, you can wrap the cooked and cooled gyro meat log in plastic wrap and refrigerate it for a few hours or overnight. This firms it up, making it even easier to slice paper-thin.
- No Food Processor? You can use a stand mixer with a paddle attachment on medium-high speed for 5-7 minutes. If mixing by hand, you’ll need to mix vigorously for a long time to achieve the right paste-like consistency.
- Make it Ahead: This is a fantastic meal-prep recipe. The entire log can be made 2-3 days in advance and stored in the refrigerator until you’re ready to slice and reheat.
- Reheating is Easy: The best way to reheat sliced gyro meat is in a dry, non-stick skillet over medium heat until it’s hot and slightly crispy at the edges.
The Final Slice: More Than Just a Meal
Making your own gyro meat recipe from scratch is a truly rewarding experience. It takes a beloved street food and turns it into a meal you can proudly enjoy any night of the week. As you blend, season, and bake, your home fills with an irresistible aroma that signals something special is coming. When you take that first bite, a warm pita filled with savory, homemade meat and cool, creamy tzatziki, you experience pure, uncomplicated joy. Roll up your sleeves and get ready to say “Opa” to your new favorite homemade feast.
Frequently Asked Questions (FAQ Section)
1. Can I make this gyro meat recipe with only beef or only lamb?
Yes, you can use all of one type of meat. Using all beef will give you a more familiar, milder flavor, while using all lamb will deliver a much stronger, gamier taste. The blend is traditionally preferred for its balance.
2. Why is my gyro meat crumbly?
This is usually due to one of two reasons: the meat mixture was not processed enough to develop the binding protein structure, or it was sliced while still too hot. Ensure you process it until it’s smooth and let it rest fully before slicing.
3. Can I cook gyro meat in a loaf pan?
You can, but it will steam more than bake, resulting in a softer exterior. Free-forming the log on a baking sheet allows for better browning and a texture closer to the spit-roasted version.
4. How long does homemade gyro meat last in the fridge?
Once cooked and cooled, your gyro meat will keep well in an airtight container in the refrigerator for 3-4 days.
5. What other recipes can I use leftover gyro meat for?
Leftover gyro meat is incredibly versatile! Use it as a topping for a Greek-style salad, stuff it into bell peppers, scramble it with eggs, or use it as a pizza topping with feta cheese and olives.
Images are generated by Freepik.


Leave a Reply