That sizzling sound catches your attention right away. Then you notice the flashing knife skills and breathe in that incredible savory aroma that greets you the second you step into a Japanese steakhouse. Yet for many of us, the real star is not the steak or the shrimp. It is that irresistible mound of golden, flavorful fried rice. And the best part is that you can recreate that same magic in your own kitchen. The good news is simple.
You absolutely can. Perfecting a true hibachi fried rice recipe has nothing to do with hidden ingredients. Instead, it relies on a few essential techniques you cannot skip. This is not just leftover rice tossed with soy sauce. It is a dish with separate, fluffy grains, deep savory flavor, and that iconic yellow color you expect. You do not need a giant teppanyaki grill either. With the right prep and a hot skillet, your kitchen easily becomes the best seat in the house. So let’s unlock the secrets together.
The Foundation: Why Your Rice Choice Makes All the Difference
Every great building needs a strong foundation, and when it comes to fried rice, that foundation is the rice itself. In fact, the most important step in creating a perfect hibachi fried rice recipe takes place long before you even turn on the stove.
You must use day old, cold rice.
This is not simply a helpful tip. It is the golden rule. Freshly cooked rice holds steam and extra moisture, which makes it soft and sticky. The moment you try to fry it, you end up with a gummy, clumpy mess. Rice that rests in the fridge overnight, however, dries out just enough. Its grains firm up and stay separate, allowing them to develop that ideal, slightly chewy texture as soon as they meet the hot oil.
What kind of rice works best? The classic choice for hibachi fried rice is medium or long-grain white rice, such as Jasmine rice. Its mild aroma won’t overpower the dish, and it stays less sticky than short-grain rice, making it easier to fry. When cooked rice cools, starch molecules reorganize through a process called starch retrogradation, as explained in the Journal of Food Science. This process firms up the grains and keeps them separate, which perfectly supports our day-old rice rule. By understanding this, you can see how science and technique combine to create the ideal fried rice texture.
*Pro Tip: If you’re in a pinch, you can speed up the process. Spread your freshly cooked rice in a thin layer on a baking sheet and pop it in the freezer for 20-30 minutes. It works in a crunch!*
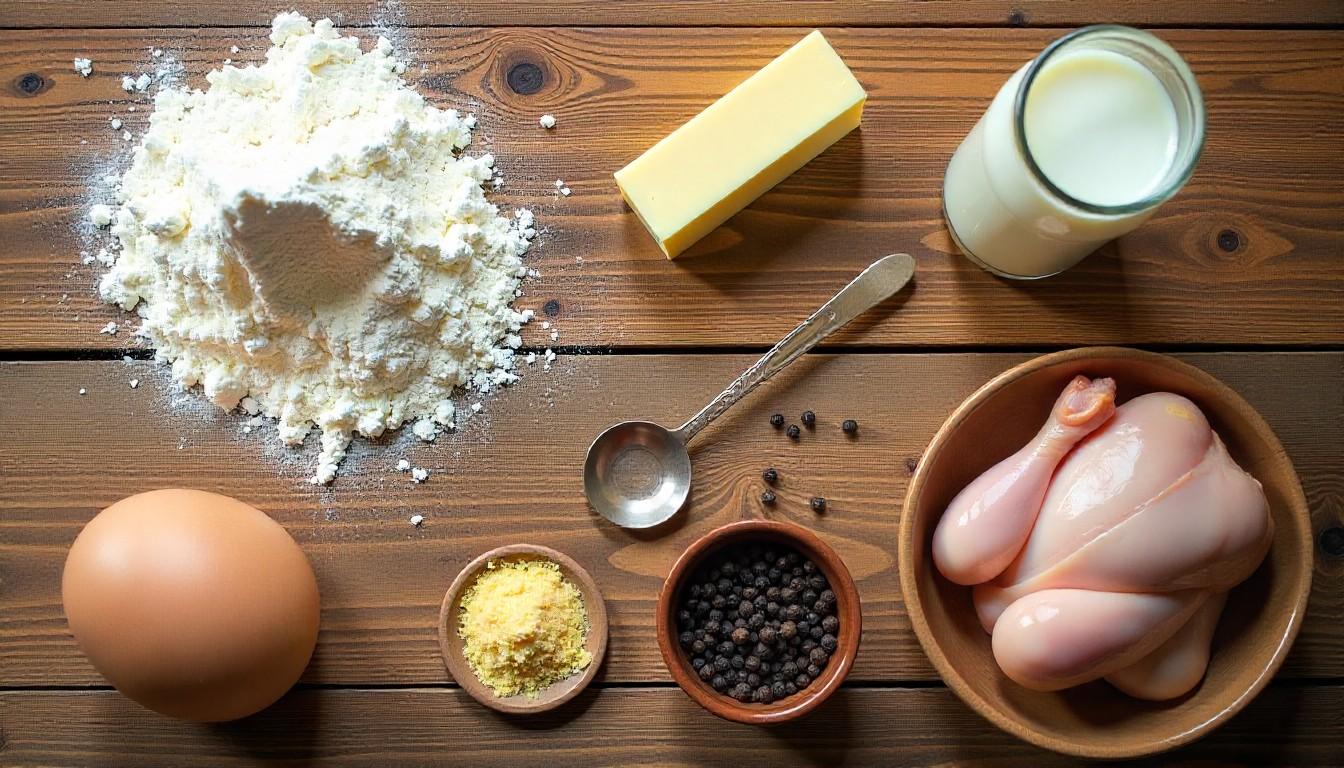
Gathering Your Ingredients: The Hibachi Flavor Profile
Interestingly, the ingredient list for a classic hibachi fried rice recipe is surprisingly simple. The real magic comes from how the ingredients work together and the techniques you use. Having everything prepped and within arm’s reach, a practice called mise en place, is essential because the cooking moves quickly and leaves little room for delays.
The Main Cast:
- 3 cups of day-old, cold white rice
- 2 tablespoons of neutral oil (avocado or canola work well)
- 1 tablespoon of toasted sesame oil
- 2 large eggs, lightly beaten
- 1 small yellow onion, finely diced
- 2-3 tablespoons of soy sauce (use tamari for gluten-free)
- 1 tablespoon of butter (this is the secret for richness)
- 2-3 scallions, thinly sliced
The Flavor Enhancers (Optional but Recommended):
- 1/2 cup of frozen peas and carrots, thawed
- 1 teaspoon of minced garlic
- A pinch of white pepper

Your Step-by-Step Hibachi Fried Rice Recipe
Ready to cook? Follow these steps closely for that authentic steakhouse result.
Step 1: The High-Heat Scramble
Place a large skillet or wok over medium-high heat and let it get properly hot. Add one tablespoon of neutral oil. Once the oil shimmers, pour in your beaten eggs. Scramble them quickly, breaking them up into small, bite-sized pieces. Once they’re just cooked through, remove them from the skillet and set them aside on a plate.
Step 2: Sautéing the Aromatics
Add the remaining tablespoon of neutral oil to your hot skillet. Then toss in the diced onion and any frozen vegetables you plan to use. Stir-fry everything for 2 to 3 minutes until the onion turns translucent and releases its fragrance. If you are using garlic, add it now and cook for just 30 more seconds so its aroma fills the kitchen.
Step 3: The Main Event: Frying the Rice
Now add your cold, day-old rice to the skillet. As you add it, break up any large clumps with your fingers or a spatula. A helpful tip is to resist stirring right away. Let the rice sit for 30 to 45 seconds so the bottom develops a slight crisp. Then begin tossing and stir-frying, making sure every grain gets coated in the oil.
Step 4: Building the Layers of Flavor
Push the rice to one side of the skillet and add the tablespoon of butter to the empty space. Let it melt and foam gently. Next, drizzle the soy sauce directly over the melted butter. This step helps the soy sauce caramelize slightly, which deepens its flavor before it mixes into the rice.
Then return the scrambled eggs to the skillet along with the sliced scallions. Toss everything together energetically until all the ingredients are perfectly combined.
Step 5: The Finishing Touch
Remove the skillet from the heat. Next, drizzle the tablespoon of toasted sesame oil over the rice and give it one last toss. The residual heat helps the sesame oil bloom its flavor without burning, which gives your rice that authentic nutty finish everyone loves.
Taste and adjust if needed, sometimes a tiny extra splash of soy sauce is perfect.

Pro Tips for the Absolute Best Results
- Don’t Skimp on Heat: Your pan needs to be hot to create that characteristic “wok hei” or breath of the wok, which is the slightly smoky, seared flavor. If your pan isn’t hot enough, the rice will steam and become mushy.
- The Butter is Key: Many home cooks skip the butter, but it’s what gives Japanese steakhouse fried rice its distinctive, rich flavor that sets it apart from other fried rice varieties.
- Customize It: This hibachi fried rice recipe is a perfect base. Feel free to add in diced chicken, shrimp, or steak that you’ve cooked separately. Just make sure any added proteins are cooked and cooled before you stir them in at the end with the eggs.
- The Blackstone Griddle Method: If you are using a Blackstone griddle, the process is identical and arguably even better. The large, flat cooking surface mimics a teppanyaki grill perfectly. Just cook each component in its own zone and then combine everything in the center.
The Final Sizzle: Your Kitchen, Your Steakhouse
There you have it. The secret behind the perfect hibachi fried rice recipe is finally revealed. This dish shows that incredible flavor does not have to be complicated. It comes from the crisp texture of day-old rice, the savory depth of caramelized soy sauce, and the rich finish of butter and sesame oil. More than just a side, it becomes the centerpiece of a meal you crafted yourself. So fire up your skillet, grab your spatula, and get ready for the best part, the look on everyone’s face when they take that first, unforgettable bite.
Frequently Asked Questions (FAQ Section)
1. Can I use freshly cooked rice for hibachi fried rice?
It is highly not recommended. Fresh rice contains too much moisture and will result in a sticky, clumpy, and mushy fried rice. Using day-old, cold rice is the most critical step for achieving the correct texture.
2. What’s the difference between hibachi fried rice and regular fried rice?
Hibachi fried rice is a style of Japanese fried rice typically cooked on a flat-top teppan grill. It’s characterized by its simple flavor profile (soy sauce, butter, sesame oil), its yellow color from the egg yolk, and its distinct, slightly smoky flavor from high-heat cooking.
3. Why is my fried rice soggy?
Soggy fried rice is almost always caused by one of two things: using warm, fresh rice that is too moist, or overcrowding the pan, which causes the ingredients to steam instead of fry.
4. Can I make this recipe gluten-free?
Absolutely. Simply substitute the regular soy sauce for tamari or a certified gluten-free soy sauce. All other core ingredients are naturally gluten-free.
5. What can I use instead of soy sauce?
For a different flavor profile, you can use coconut aminos, which is slightly sweeter and less salty. If you need to avoid soy entirely, a pinch of sea salt combined with an extra teaspoon of butter can work in a pinch, though the flavor will be less classic.
All images are generated by Freepik.


Leave a Reply