You know the feeling. You want something savory, a little salty, and definitely crunchy. Potato chips sound good for a moment, but they feel too greasy. Plain crackers swing the other way and end up tasting like nothing. That is when you realize you want something better. What you really want is that irresistible little snack that vanishes from the bowl almost as soon as it hits the table. In other words, you need a great oyster cracker snack recipe.
This does not mean seasoning crackers. That is the instance when you see ordinary oyster crackers and feel like eating them. You avoid the store bought ones simply because you already understand that they have some additional items that you never ordered. Rather, you prepare a fast batch at home and all of a sudden the kitchen fumes warm and buttery. In this tutorial, you are taught on how to assemble a snack that does not feel stale and empty in taste. Less effort is required than you think and the outcome is so addictive you will find yourself grabbing another handful before the tray gets cold.
Why This Oyster Cracker Snack Recipe Works So Well
The great oyster cracker snack is beautiful because of its simplicity and the way these crackers act. Their airy porous nature makes them seem almost to be ready to absorb the butter and spices you pour over them. They are tiny little edible sponges and absorb all the flavour. When they are baked with a low temperature, the butter, as well as the seasonings, stick to the surface and are deposited in all these little vacuoles. You are left with a delicious crunchy bite on every cracker that makes every bite that more rewarding.
This is much more than shaking off seasoning out of a packet. You are in control at the beginning and this implies that you make the flavor as zesty, herby, or mild as you prefer. The finest thing about it is that this recipe is quite universal. It provides you with a firm foundation that you can extend yourself on, as you are free to use your own ideas and preferences and still end up with a snack that is predictably good.
A Brief History of the Humble Oyster Cracker
It is ironical that such a tiny cracker would come to be known by such a large name. Although it is what most people believe, oyster crackers have never even had oysters in them. Their initial appearance was in the middle of the 19th century and was accompanied by oyster stews and chowders. Their round form was small and the texture was durable but in a way crumbly which was perfect to put in a hot bowl of broth. They put a bit into it, made the soup thick enough to bearable amounts, and became a part of the meal to be counted on.
Gradually, the human race began to observe that these small crackers had other existence beyond the soup bowl. They were snacking food because of their tender taste and because they were able to retain the seasonings. That is what became the traditional recipe of the cracker snack oyster. It demonstrates how useful this small cracker can be, as a mere garnish or something you carry with yourself to a party and see dissolve in a few minutes.
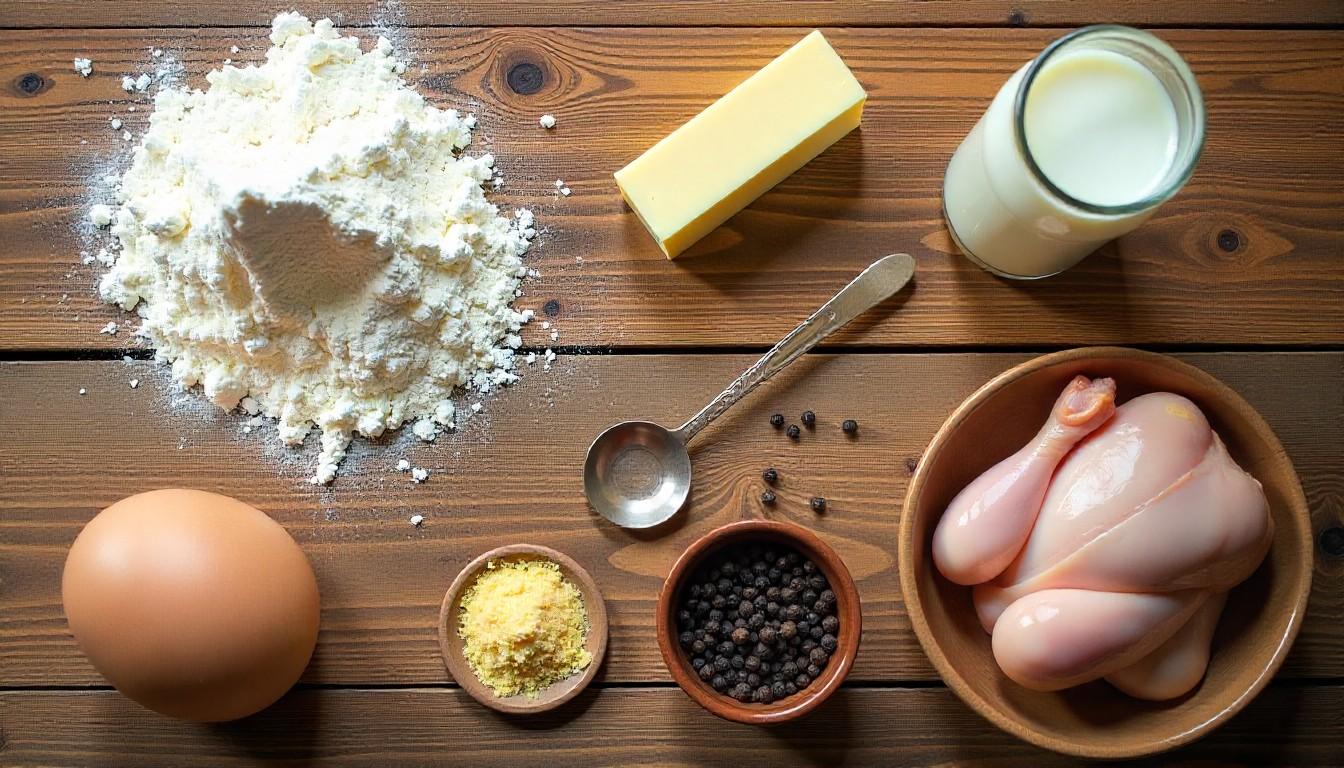
Gathering Your Ingredients: Simple Pantry Staples
The ingredient list for this oyster cracker snack recipe is short and sweet. You probably have most of these items in your kitchen right now.
The Base:
- 1 (10-12 oz) bag of plain oyster crackers
The Coating:
- ½ cup (1 stick) of unsalted butter
- 2 tablespoons grated Parmesan cheese (the powdery kind works best for coating)
- 1 teaspoon garlic powder
- 1 teaspoon onion powder
- 1 teaspoon dried dill weed
- ½ teaspoon lemon pepper (optional, for a zesty kick)
- ¼ teaspoon cayenne pepper (optional, for heat)
See? No hidden ingredients. This is a from-scratch oyster cracker snack recipe without ranch that relies on the real, balanced flavors of herbs and spices.
The Science of the Low-Temperature Bake
You may be wondering why such a low temperature of the oven is required in this recipe of oyster cracker snack. It is very low at 250°F, which is not accidental, compared to most baking projects. It has nothing to do with cooking the crackers, but toasting them in a slow and gentle manner. This gradual method prevents the seasonings from flooding away and the crackers to burn out unevenly, thus providing you with that taste of perfection, a crispy bite each time.
The high heat would burn the butter and fragile spices before the crackers could verify and become dry and crispy. The cool climate allows the moisture in the butter to evaporate gradually and the milk solids and seasonings are left to cover every cracker. This cautious treatment proffers you bites of goldenness, crunchiness, and perfect seasonalness never burnt nor bitter.

The Step-by-Step Guide to Savory Perfection
Making this snack is almost as easy as opening a bag of pre-made ones. The difference in flavor, however, is night and day.
- Preheat and Prepare. First, preheat your oven to 250°F (120°C). This low temperature is key, it slowly toasts the crackers and dries the coating without burning them. Then, line a large baking sheet with parchment paper or a silicone baking mat.
- Melt the Butter. In a large, microwave-safe bowl, melt the stick of butter. This should take about 60 seconds. Alternatively, you can melt it in a small saucepan on the stove.
- Create the Seasoning Blend. Once the butter is melted, immediately add all your seasonings to the bowl: the Parmesan cheese, garlic powder, onion powder, dill weed, lemon pepper, and cayenne. Whisk it all together until you have a fragrant, unified sauce.
- Coat the Crackers. Now, add the entire bag of oyster crackers to the bowl. Using a large spoon or spatula, gently fold the crackers into the butter and seasoning mixture. Be patient and thorough. You want every single cracker to get a light, even coating.
- Bake to Crispy Bliss. Spread the coated crackers in a single layer on your prepared baking sheet. Place them in the preheated oven and bake for 20-25 minutes. Give the pan a gentle shake halfway through to ensure even toasting. You’ll know they’re done when the crackers are dry, slightly darker in color, and your kitchen smells amazing.
- Cool Completely. This is the most important step for maximum crunch! Let the crackers cool completely on the baking sheet before serving or storing. They will crisp up significantly as they cool.
Taking Your Recipe to the Next Level
When you have got the standard one under your belt, then you can begin playing around with it. To add more flavor, nutty or richer, one can brown the butter before adding the seasonings. Heat the butter in a medium-sized saucepan and continue to swirl it until it becomes warm and golden amber and fills the kitchen with its nutty scent. It gives your snack of oyster crackers depths that are inexplicable and with each bite, one feels like they are indulging very intensely and simply cannot resist.
You can also experiment with different fats. While butter is classic, using duck fat or bacon drippings can create a deeply savory, complex snack that’s perfect for a special occasion. The method remains the same.
Customize Your Flavor: Endless Variations
This oyster cracker snack recipe is a perfect canvas. Feel free to experiment and make it your own.
- Ranch-Style: If you love that classic flavor, add 1 tablespoon of dry ranch seasoning mix to the butter. It creates a fantastic oyster cracker snack recipe with butter and ranch that’s still homemade.
- Everything Bagel: Swap the dill and lemon pepper for 2 tablespoons of everything bagel seasoning.
- Spicy Buffalo: Replace the dill with 2 teaspoons of buffalo sauce powder or a tablespoon of Frank’s RedHot dry seasoning.
- Cheesy Herb: Add an extra tablespoon of Parmesan and a teaspoon of Italian seasoning.
- Smoky BBQ: Use 1 tablespoon of your favorite BBQ dry rub, smoked paprika, and a pinch of brown sugar.
Storing Your Homemade Snack Mix
Once completely cool, store your seasoned oyster crackers in an airtight container or a large ziplock bag. They will stay perfectly fresh and crunchy for up to 2 weeks at room temperature. There’s no need to refrigerate them.

Creative Serving Suggestions
While these crackers are incredible on their own, they can also be the star of other dishes.
- As a Soup Topper: Return them to their roots! Use them as a flavorful garnish for chili, potato soup, or a creamy tomato bisque.
- In a Trail Mix: Combine them with roasted nuts, pretzels, and maybe even a few chocolate chips for a sweet and savory trail mix.
- As a Salad Crouton: Sprinkle them over a green salad for an unexpected, crunchy element.
- On a Charcuterie Board: They make a wonderful, savory addition to any cheese and meat board.
The Final Word on a Classic Snack
It is a bit of kitchen magic to make this snack oyster cracker. Minimal ingredients with cheap prices make one feel special and indulgent. It is a snack that you can boast about at a party or take on a road trip or just spend a peaceful afternoon at home. It is simple, the outcome is addictive and you even get to make it just the way you would like. This is just something that can become your new favorite recipe. At this point, take your bowl and make that ideal crunch.
Absolutely! While oyster crackers are classic for their size and texture, you can use small pretzels, goldfish crackers, or even broken-up pieces of melba toast. The baking time may vary slightly.
This usually happens if they weren’t baked long enough or if they were stored before cooling completely. Ensure you bake them for the full time until they feel dry to the touch, and always let them cool on the baking sheet before putting them in a container.
Yes, you can substitute an equal amount of olive oil or avocado oil. The flavor will be slightly different, but the method remains the same. The key is to use a fat that is liquid at room temperature to carry the seasonings.
Definitely! This recipe is a great base for a full snack mix. Feel free to add raw nuts like pecans or almonds, bagel chips, or even small cereal squares when you add the crackers to the butter coating.
The low temperature is crucial. It slowly toasts the crackers and evaporates the moisture from the butter without burning the delicate spices or the crackers themselves. A higher temperature would likely burn the coating before the crackers crisp up.
Yes, you can. The process is faster. Toss the crackers as directed, then air fry at 300°F for 5-8 minutes, shaking the basket halfway through. Watch them closely, as they can burn quickly in the air fryer.
All images are generated by Freepik.


Leave a Reply